


Inspect your unit right after key collection and before any renovation work begins. Walk through walls, ceilings, floors, doors, windows, kitchen, bathrooms, electrical points, and the balcony, testing each with simple tools like a flashlight, spirit level, and your fingertips. Photograph and video every issue, log it on a signed, dated defect list, and submit it through the developer’s defect portal to create a clean paper trail.
TL;DR:
- Inspect your condo immediately after key collection and before renovations to document all defects clearly with photos, videos, and detailed logs.
- Walls, ceilings, and floors should be checked using tapping tests, low-angle lighting, and straightedges to identify hidden or structural issues early.
- Test all windows, doors, plumbing, electrical outlets, and fixtures thoroughly, noting misalignments, leaks, or malfunctioning components with precise descriptions.
- Record and submit your defect list through the developer’s digital portal or via formal email within the defects liability period to ensure timely developer repairs.
- Hire a professional inspector if water ingress, structural cracks, or non-cosmetic issues are suspected, especially for resale units with limited warranty coverage.
Table of Contents
- Condo Defects Checklist: When to Inspect and Why Timing Matters
- How Do You Check Walls and Ceilings for Defects?
- What’s the Best Way to Test Floors and Tiles?
- Doors, Windows, and Joinery: What to Test at Handover
- Kitchen and Plumbing Checks You Shouldn’t Skip
- Electrical, Air-Con, and Ventilation: A Room-by-Room Test
- Bathroom Fittings: Leaks, Drainage, and Seals to Inspect
- Balcony and Common-Area Checks at Handover
- How to Document and Report Condo Defects in Singapore
- Who’s Behind This Condo Defects Checklist?
- What I’d Tell Any First-Time Owner Before They Renovate
- Need Help Managing the Inspection and Developer Follow-Up?
- Sources
- FAQ
Condo Defects Checklist: When to Inspect and Why Timing Matters
Getting your keys means the Temporary Occupation Permit (TOP) has been issued, which confirms the building is safe to occupy. It says nothing about finishing quality. Once you collect keys, a defects liability period begins, running for a set duration in Singapore, during which the developer is contractually obligated to fix genuine defects at no cost to you.
That window closes fast once renovation contractors step in. Drilling, painting, or replacing flooring before you’ve logged a defect makes it nearly impossible to prove the developer caused it rather than your renovator. Inspect first, renovate second, always.
A simple master checklist keeps you organized:
- Room: which space you’re in (living room, Bedroom 2, kitchen)
- Item: the exact fixture or surface (wall, tile, cabinet door)
- Photo reference: file name or number tied to your evidence
- Severity: cosmetic, functional, or structural concern
- Desired remedy: repair, replace, or realign
This defects liability period guide breaks down developer obligations in more depth if you want the fuller picture before your walk-through.
How Do You Check Walls and Ceilings for Defects?
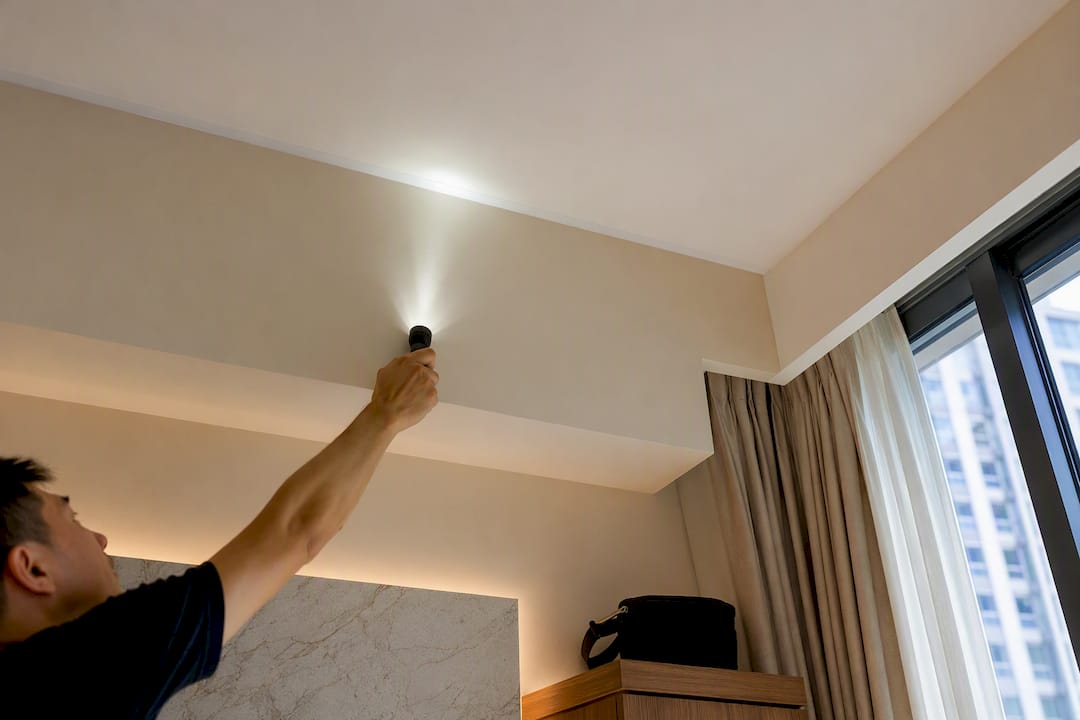
Run your fingertips across walls and ceilings, tapping lightly every foot or so. A hollow or drum-like sound often signals a paint holiday or debonded plaster behind the surface. Angle a flashlight low across the wall at dusk or in a dim room; light raking across the surface reveals bubbling, uneven patches, or missed paint sections that daylight hides.
Not every crack is a problem. Hairline cracks under roughly 0.3mm, common in new plasterwork as it cures, are typically cosmetic. Cracks wider than that, or ones running diagonally from corners of doors and windows, deserve a photo with a coin or ruler for scale and a spot on your defect list.
- Tap test every wall and ceiling panel in each room
- Check corners and joints near windows and doors first
- Photograph any crack with a scale reference
- Log entries as: room, exact location, symptom, photo reference, date
Pro Tip: Do your wall and ceiling checks before sunset. Natural low-angle light exposes paint defects that overhead LED lighting hides completely.
What’s the Best Way to Test Floors and Tiles?
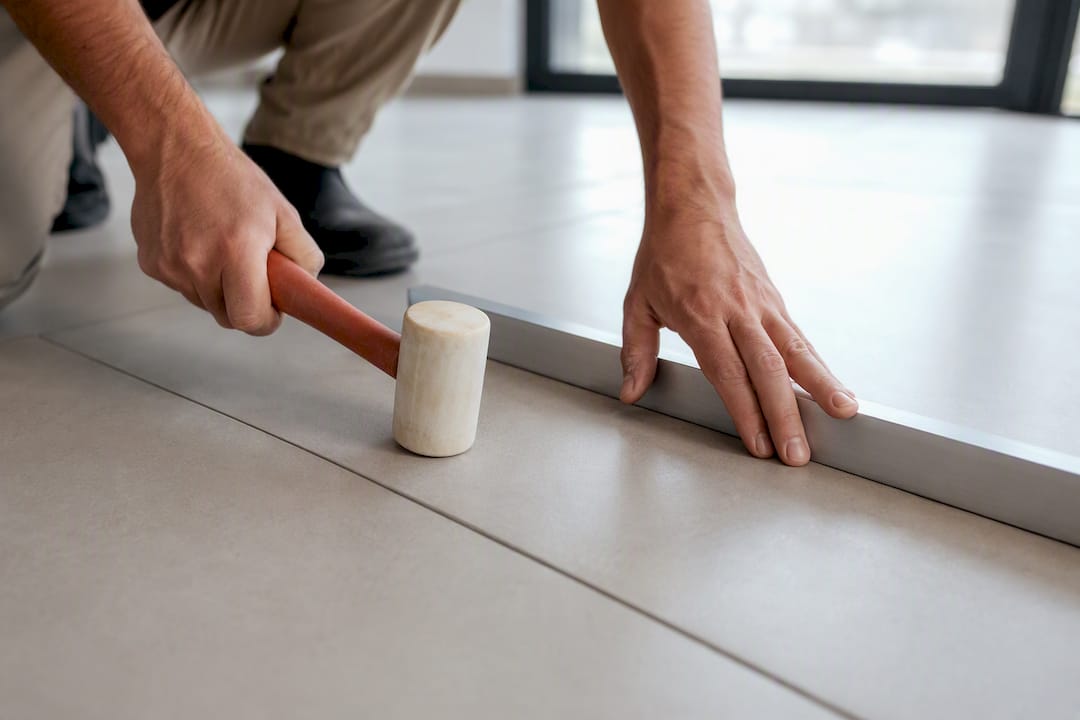
Tap each tile gently with a hard object like a coin or the back of a screwdriver handle. A sharp, solid sound means the tile is bonded properly; a hollow, dull echo usually means the adhesive underneath has failed or never bonded at all.
Check every grout line for hairline gaps, cracking, or dark staining, since these often point to water seepage starting early. For unevenness, lay a straightedge or a long ruler across adjoining tiles and photograph any visible gap or step, known as lippage, between them.
- Tap test tiles in a grid pattern across each room
- Inspect grout lines under strong light for gaps or discoloration
- Photograph lippage with a straightedge for scale
- Note the likely fix needed: regrout, relevel, or replace
Doors, Windows, and Joinery: What to Test at Handover
Every hinge, lock, and rail deserves a hands-on test before you sign off on the unit.
- Open and close every door and window fully, checking for rubbing, sticking, or misalignment against the frame.
- Test all locks, latches, and soft-close hinges to confirm smooth operation without forcing.
- Inspect window seals and drainage weep holes for gaps, since poor sealing is a common source of water ingress during storms.
- Examine glazing for scratches, chips, or stress marks, and photograph hardware serial numbers where visible.
- Check cabinetry and built-in joinery for misaligned doors, gaps, or drawers that don’t glide evenly, noting each defect with a short, specific description.
Functional issues like a door that won’t latch matter more to flag urgently than cosmetic scuffs, but both belong on your list.
Kitchen and Plumbing Checks You Shouldn’t Skip
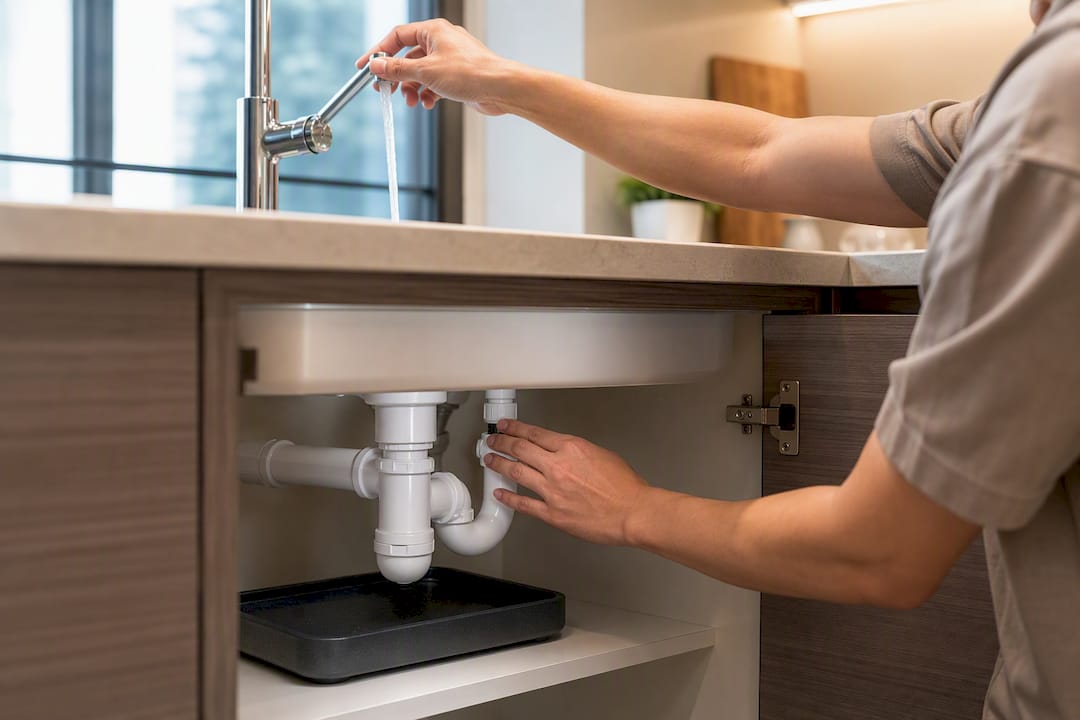
Turn on every tap at full pressure and let it run for a minute while you check under the sink for drips or dampness around pipe joints. Slow drainage or a gurgling sound when water empties can point to a poorly connected trap.
Test any included appliances, hobs, and the kitchen hood or ventilation system to confirm they power on and function as expected. Look closely at countertop edges and cabinet doors for chips, scratches, or misaligned panels that should have been caught before handover.
- Run all taps and inspect under-sink pipework for leaks
- Test drain speed and check for odors indicating trap issues
- Switch on appliances and the extractor hood to confirm function
- Photograph under-sink plumbing, pipe joints, and appliance model or serial labels for your records
Electrical, Air-Con, and Ventilation: A Room-by-Room Test
Flip every light switch and plug a small device, like a phone charger, into each socket to confirm power. Label any dead outlet immediately, and note if a switch operates the wrong light or fan, since mismatched wiring is more common than most buyers expect.
Run every air-conditioning unit for at least 15 minutes. Listen for rattling, grinding, or unusual noise, and check that condensate drains properly rather than dripping onto the floor or ceiling below. Confirm remotes and any smart controllers pair and respond correctly.
- Test every socket with a charger or lamp
- Flip every switch and confirm it controls the correct fixture
- Run air-con units and check for noise, leaks, or slow cooling
- Note extractor fan noise levels and airflow strength in bathrooms and kitchens
Pro Tip: Test air-con units on a hot afternoon, not in the cool morning. Compressor strain and drainage issues show up far more clearly when the unit is working hardest.
Bathroom Fittings: Leaks, Drainage, and Seals to Inspect
Run the shower and both sinks for several minutes, watching how fast water drains and checking under the basin for leaks at the pipe connections. Slow drainage in a brand-new bathroom usually means a blocked or poorly graded floor trap.
Look closely at grout and silicone sealant around the shower and tub for voids, gaps, or early mold spotting, both signs of a rushed installation. Flush the toilet and check that the cistern refills properly without running continuously.
- Run showers and sinks, timing how fast water clears
- Check grout and silicone seams for gaps, cracking, or mold
- Test toilet flush and cistern refill function
- Look for water stains on the ceiling of the room below, which can signal a slab leak that needs urgent developer attention
Balcony and Common-Area Checks at Handover
Balconies take weather abuse from day one, so check the floor slope toward the drain outlet, confirm railings feel solid when pushed, and look for hairline cracking or staining that could point to early concrete spalling.
Walk the common corridors, lift lobbies, and shared facilities on your way in and out. Cracks in shared slabs, staining on common walls, or pooling water in corridors are the developer’s responsibility too, and worth photographing even though they’re outside your unit.
- Check balcony floor drainage and slope toward the outlet
- Push-test railings for looseness or wobble
- Photograph any staining, spalling, or cracking on balcony surfaces
- Note common-area issues (corridor cracks, lobby finishes) separately from your unit’s defect list
- If a drainage issue only shows up in wet weather, log it as “pending rain observation” and revisit within two weeks
How to Document and Report Condo Defects in Singapore
Get this part right and the rest of the process runs itself. Get it wrong, and even a legitimate defect can turn into a drawn-out dispute.
- Build your defect list room by room. For each issue, record the unit and room, the item affected, a short symptom description, a photo or video reference, and the date observed. A naming convention like
unit_room_item_20260315_01.jpgkeeps hundreds of photos searchable months later. - Submit through the proper channel. Most private developers now run a digital defect-management portal; use it, or send a formal, dated email if no portal exists. Save every confirmation screenshot or email receipt in a chronological folder as your audit trail. CASE points to written, timestamped reporting as the single biggest factor in successful defect resolution.
- Track response windows and escalate if needed. Developers typically acknowledge and schedule rectification within a set period after you submit your list; if they miss agreed dates repeatedly, raise a formal complaint with CASE, referencing BCA’s defects guidance to support your claim. HDB owners follow a related but distinct process, since HDB’s rectification procedure for new flats sets its own reporting timelines separate from private developer portals.
Private-property buyers researching the fuller purchase timeline may find this first-timer’s guide to buying a new launch condo useful for understanding what happens between showflat booking and key collection.
Who’s Behind This Condo Defects Checklist?
This checklist draws on practical, Singapore-specific handover experience from Aman Aboobucker of Aesthetic Havens, a real estate consultancy under ERA Realtors focused on guiding buyers through purchase, handover, and renovation decisions.
A workable defect-list line reads like this: “Bedroom 2, ceiling near window, hairline crack 0.5mm, photo ref bed2_ceiling_20260315_02, flagged for repair.” Pair that with the naming convention above for every photo and video you take.
DIY checks cover most cosmetic and functional issues fine. Hire a professional inspector when you spot signs of water ingress, structural cracking, or if you’re buying a resale unit without a fresh developer warranty backing it.
What I’d Tell Any First-Time Owner Before They Renovate
The single biggest mistake I see isn’t missing a defect. It’s waiting three weeks to inspect, letting a renovator start demolition, then trying to prove the developer caused a crack that’s now buried under new tiling. Poor photo evidence, taken in bad lighting without a date stamp, is the second biggest.
Spend the last 20 minutes of your inspection on a final sweep: recheck every socket, flush every drain once more, and confirm your photo folder actually saved. Then store every email, photo, and portal confirmation in one dated folder you can find in ten seconds a year from now.
— Aman
Need Help Managing the Inspection and Developer Follow-Up?
Chasing down thirty defect entries across seven rooms while holding down a full-time job is where most owners lose steam, and it’s exactly where a second set of trained eyes pays for itself. Consultancy services are available to assist owners with inspection accompaniment, defect-list preparation, and developer liaison for those who prefer professional management of the process.

Some owners just want a one-off walk-through with a professional before their DLP window closes; others prefer a fully managed rectification process where every follow-up email and escalation is handled on their behalf. Either shape works, and the right one depends on how much of this process you want off your plate. If you’re weighing whether to bring in support now or wait until a dispute drags on, Aesthetic Havens’ consultancy services are worth a look before your defects liability period runs out. For buyers still deciding between new launches, the SG New Launches listings are a good next stop to compare projects before you’re even at the handover stage.
Sources
- BCA: Defects information for homeowners
- HDB: Rectification of defects in new flats
- Consumers Association of Singapore (CASE)
FAQ
When Should I Start My Condo Defects Checklist?
Start immediately after key collection, before signing any renovation contract or letting a contractor onto the site.
Where Do I Report Defects to My Developer?
Most developers use a digital defect-management portal; if none exists, submit a written, dated email and keep the confirmation on file.
How Long Is the Defects Liability Period in Singapore?
It runs for a fixed period from the date of key collection, though private and HDB timelines can differ, as outlined in HDB’s rectification guidance.
Do I Need a Professional Inspector for a New Condo?
Not always. DIY checks cover most cosmetic and functional defects, but a professional inspector is worth hiring if you spot signs of water ingress or structural cracking, or if you’d rather have a consultant like Aesthetic Havens manage the process end to end.
What If the Developer Ignores My Defect Reports?
Escalate with a formal complaint to CASE, referencing BCA’s published defects guidance and your dated submission records as evidence.


